
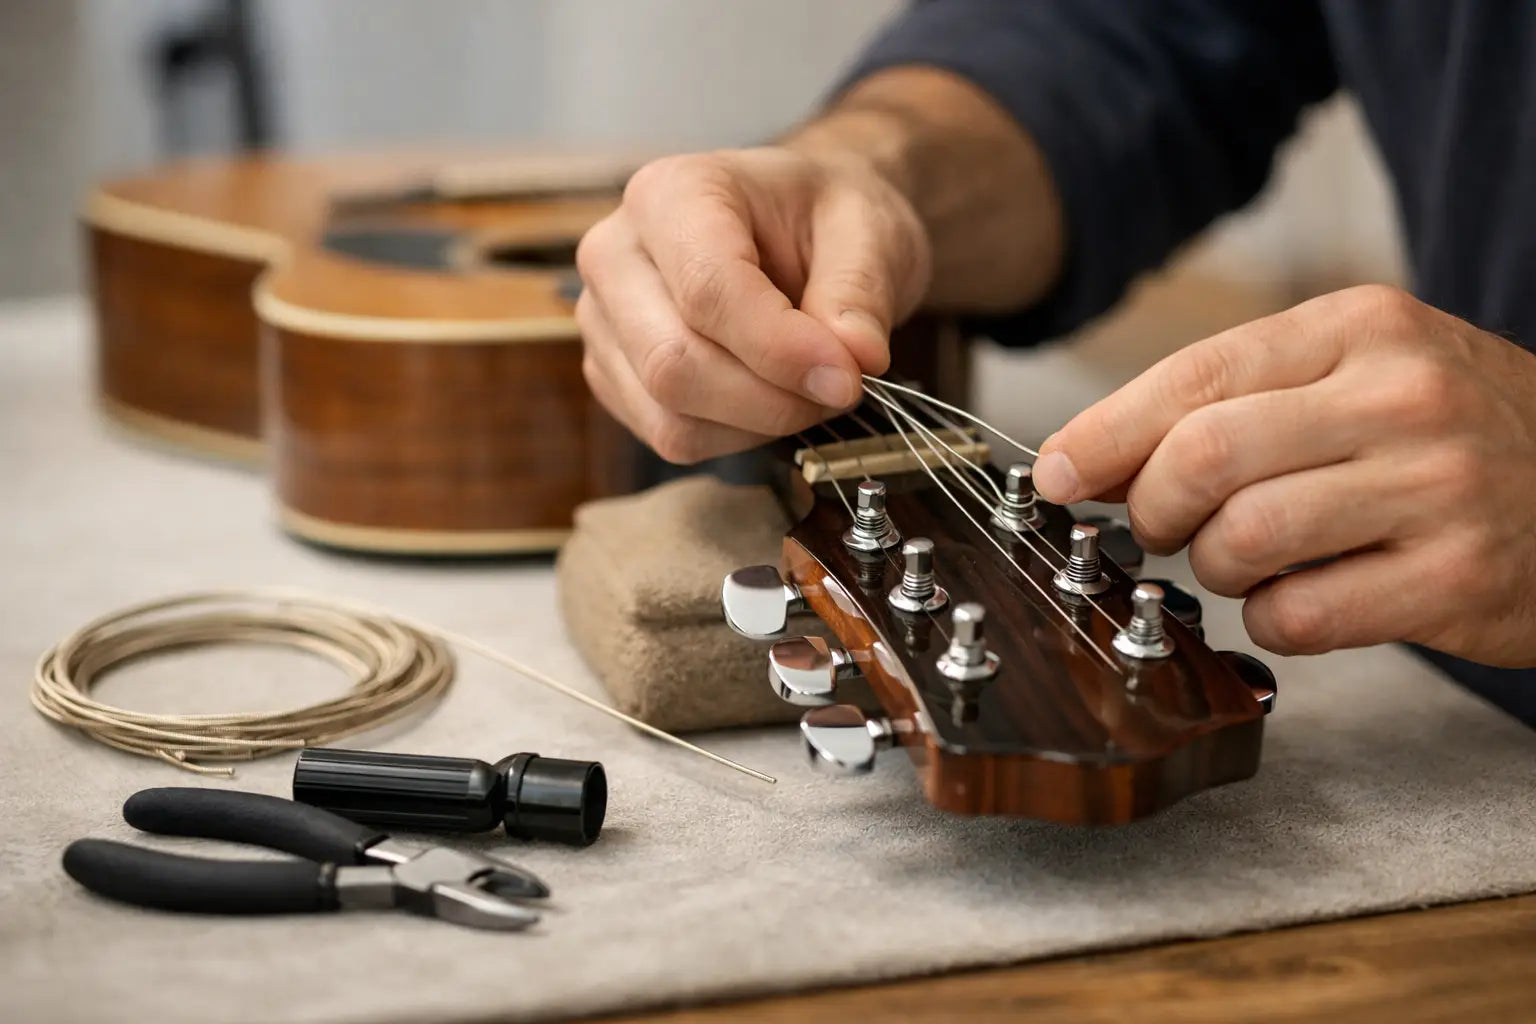
A tired set of strings can make a good guitar feel oddly lifeless: tuning drifts, chords sound dull and bends fight back. Learning how to restring a guitar is one of the most useful bits of guitar care you can do at home. Take your time the first couple of times and it soon becomes a straightforward job, not a wrestling match with wire and tuning posts.
The method changes slightly between electric, acoustic, classical and locking-tremolo guitars, but the aim is the same: fit the correct strings neatly, give them a secure path from bridge to machinehead, then stretch them in properly. Rushing the last part is why many fresh sets appear to go out of tune every 30 seconds.
Before You Restring a Guitar
Choose strings that suit both the instrument and your hands. Most steel-string acoustics take acoustic sets with ball ends, while standard electric guitars use electric ball-end strings. A classical guitar needs nylon strings, which are tied at the bridge and machineheads rather than anchored by ball ends. Do not fit ordinary steel strings to a classical guitar: the extra tension can damage the instrument.
Gauge matters too. If your guitar is set up for .009s and you move to heavier .011s, expect more tension, a firmer feel and possibly sharper intonation or higher action. The reverse can leave the strings feeling loose. Small gauge changes often work without drama, but a significant change may call for a truss-rod, nut or intonation adjustment. That is normal workshop work, not a sign anything has gone wrong.
Have these to hand:
- A fresh set of the right strings
- A reliable tuner
- String cutters
- A string winder, if you have one
- A soft cloth and a small amount of guitar-safe cleaner
How to Restring a Guitar Step by Step
For most fixed-bridge electrics and steel-string acoustics, changing one string at a time is the safest default. It keeps some tension on the neck and means you have a visual guide for how the remaining strings are routed. Removing them all at once is fine when you want a proper fretboard clean, but support the guitar carefully and take a quick photo of the bridge beforehand if its string path is unfamiliar.
1. Loosen and remove the old string
Turn the machinehead until the string is slack, then unwind it from the post. Pull it through the bridge or remove the bridge pin on an acoustic. Never snip a string while it is at full tension. It can spring back sharply, damage the finish or give you a nasty surprise near the face.
On an acoustic, use a bridge-pin puller or the notch on many string winders. Do not lever the pin upward with pliers or a screwdriver. If a pin feels stuck, push the ball end gently up from inside the guitar through the soundhole while easing the pin out.
2. Clean the areas you cannot normally reach
With the old string out, wipe the exposed fretboard, the front of the headstock and around the bridge. A dry microfibre cloth deals with everyday dust and residue. This is also the moment to look for loose bridge pins, sharp saddle edges, worn frets or a nut slot that has started to bind.
A little grime is expected on a regularly played guitar. Deep cracks around an acoustic bridge, lifting hardware, or a saddle that looks split are reasons to pause and get it checked. A restring should make a guitar feel better, not disguise a repair that needs doing.
3. Seat the string correctly at the bridge
On a through-body or hardtail electric, feed the string through the rear ferrule or bridge as designed, then bring it over the saddle. On a tune-o-matic style bridge, the ball end sits at the tailpiece and the string runs over the saddle towards the headstock. Keep an eye on the winding direction if the tailpiece is top-wrapped, as that is a personal setup choice rather than a requirement.
For an acoustic, drop the ball end into the pin hole, insert the bridge pin with its slot facing the string, and pull the string gently upwards until the ball catches against the bridge plate inside. The bridge pin is not what holds the tension. The ball end must be seated under the bridge plate. If the pin lifts as you tune, loosen the string and reseat it before carrying on.
4. Measure enough slack at the machinehead
Thread the string through the correct machinehead hole and pull it reasonably straight. Leave enough slack for two to three tidy wraps on the wound strings and around three to four on the plain strings. You do not need a ruler. As a useful guide, pull the string past its post by roughly two to three machineheads, then bring it back to the post before winding.
Too little slack gives you barely one turn around the post, which can slip. Too much creates a tangled stack of wraps that is less stable and harder to remove next time. Neat, downward wraps help hold the string at a sensible break angle over the nut.
5. Lock the string with a clean first wrap
With standard posts, bend the free end of the string back against the direction it will wind. Hold the string under light tension and turn the machinehead so the first wrap traps the loose end. Continue winding, making each new wrap sit below the previous one.
For slotted vintage-style posts, feed the string down into the centre hole, bend it out through the slot, then wind as usual. For locking tuners, pull the string straight through, tighten the locking wheel by hand, tune up and trim the excess. Locking tuners reduce the number of wraps, but they do not remove the need to stretch new strings.
6. Tune gradually, then stretch the strings
Bring each string close to pitch, working across the set rather than taking one string straight up to full tension immediately. Once all six are near pitch, gently lift each string at several points along its length. Think controlled upward pulls of a centimetre or so, not a dramatic tug. Retune and repeat until the pitch settles.
New strings often need several rounds of stretching. Check that the wraps remain neat, that the string is sitting properly in its nut slot and that an acoustic bridge pin has stayed down. Only then trim the excess string close to the post with cutters. Leave a small, tidy tail rather than cutting against the machinehead itself.
Special Cases: Classical Guitars and Tremolos
Classical guitars need a different technique because nylon strings are tied. At the bridge, form the appropriate tie block knot, usually passing the end back under itself twice for the thinner trebles so it cannot slip. At the headstock, make a simple securing loop and wind neatly. Nylon takes longer than steel to settle, sometimes several days of regular tuning, so patience is part of the job.
A floating tremolo, especially a Floyd Rose, deserves extra care. Changing all strings at once removes the counter-tension holding the bridge level, so replace one at a time unless you know how to block the tremolo correctly. Locking nuts and fine tuners add their own sequence, and an incorrectly balanced bridge can turn a quick restring into a full setup. If you are unsure, a workshop can save a lot of frustration.
Common Restringing Problems
If a freshly restrung guitar will not stay in tune, do not assume the strings are faulty. More often, they have not been stretched enough, the wraps are crossing over one another, or the string is catching in the nut. A small ping as you tune is a classic sign of nut binding. Do not force it with extra tuning pressure.
Buzzing after a restring can happen when you have changed gauge, lowered the string seating at the bridge, or revealed an existing setup issue. If the buzz is only on one open string, inspect the nut slot and whether the string is fully seated. If it occurs across much of the neck, check the action and relief before making any adjustments. A guitar that played well before a like-for-like string change should not suddenly need aggressive truss-rod turns.
As a rough guide, many regular players change strings every month or two, while occasional home players may get far longer from a set. Sweaty hands, frequent gigs, hard playing and coastal humidity shorten their life. When strings look dark, feel rough, sound flat or refuse to intonate cleanly, they have earned retirement.
A careful restring is a small bit of maintenance with a big payoff. Your guitar should come back brighter, more responsive and ready for the next practice, rehearsal or gig. If something does not feel right, Chordplay Guitars' workshop is always a sensible place to bring the instrument before a minor issue becomes a bigger repair.
Share:
What a Guitar Repair Workshop Can Do for You
Guitar Setup Checklist for Better Playing