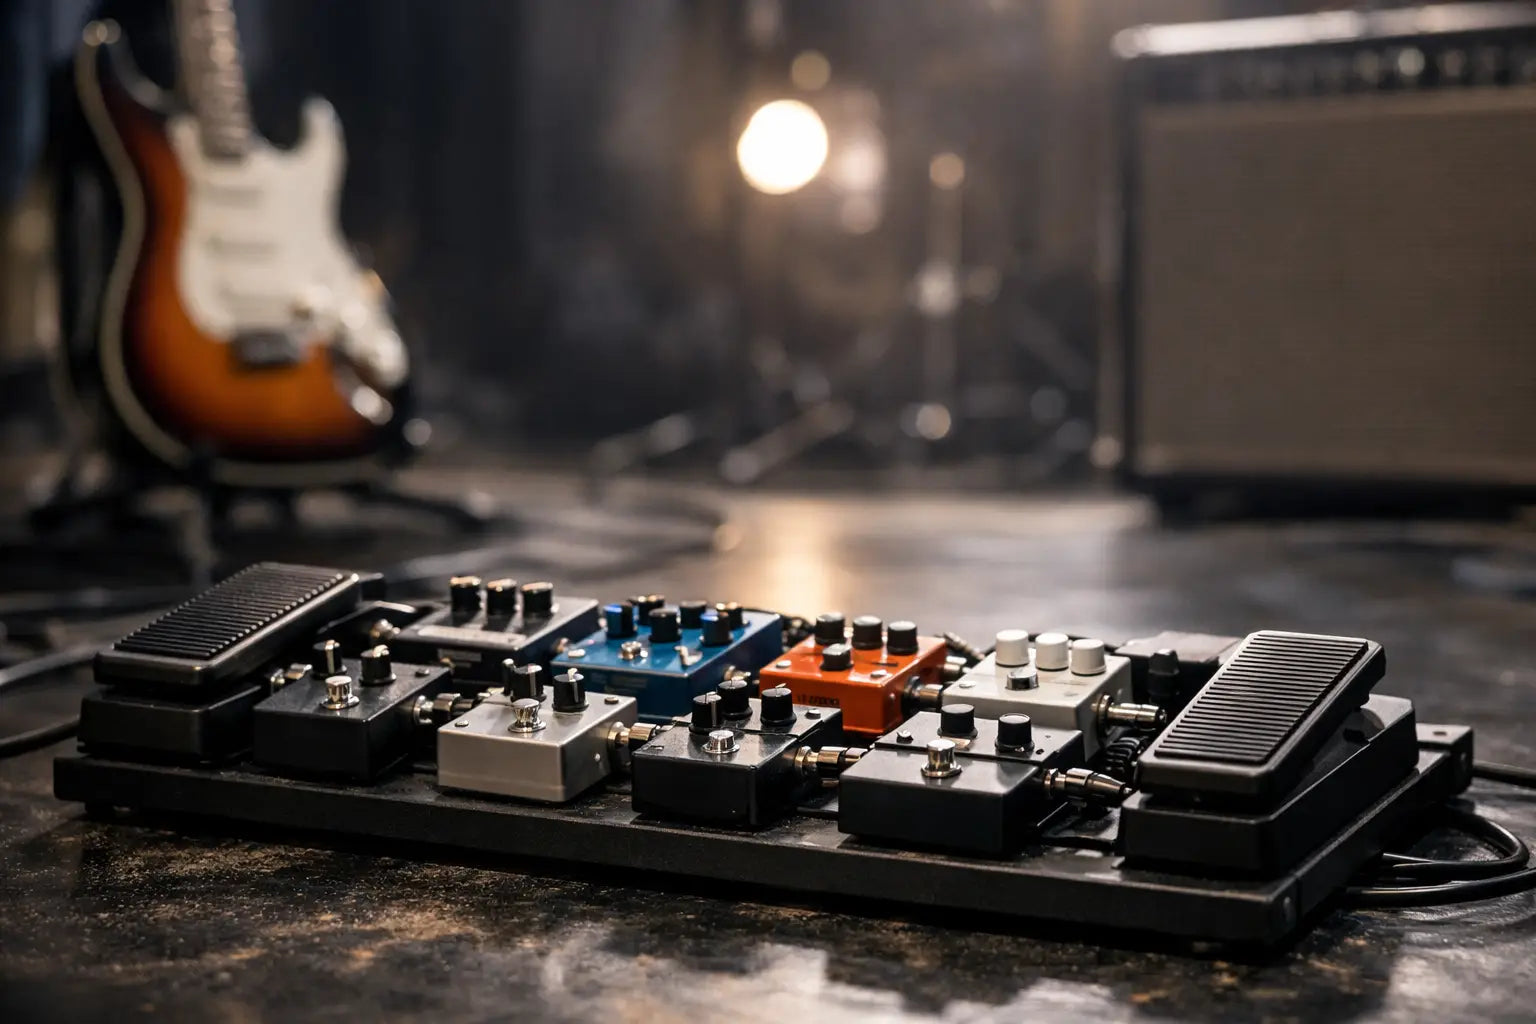
A pedalboard should make playing easier, not leave you crouched on a dark stage chasing a loose patch lead. If you are wondering how to set up pedalboard gear for the first time, start with the sounds you actually use. A compact board with four well-chosen pedals that you can switch confidently will serve most players better than a crowded row of effects with no clear purpose.
There is no single perfect order, either. Your guitar, amp, genre and playing style all matter. The aim is to build a dependable signal path that sounds good at rehearsal, at home and through an unfamiliar backline at a gig.
Start with the job your pedalboard needs to do
Before buying a board, lay out the pedals you already own on the floor and play through them. Think about the songs you play rather than the effects you feel you ought to have. A blues player may need a tuner, overdrive and delay. A covers guitarist might need clean boost, drive, modulation, delay and a tuner. A heavier player may put priority on a noise gate, gain stages and a reliable tuner.
This also tells you what size board makes sense. Leave a little room for angled plugs, power leads and one future addition, but resist buying a huge board simply because it looks impressive. Bigger boards cost more, weigh more and invite unnecessary complications. If you travel by public transport or carry your own gear into pubs and rehearsal rooms, a sensible compact setup is a real bonus.
Measure the pedals rather than guessing. Wahs, expression pedals, large loopers and older units with side-mounted sockets can take up far more room than their footprint suggests. Check whether a pedal needs space around it for a footswitch to be usable in boots.
How to set up pedalboard signal order
A conventional pedal order gives you a dependable starting point:
Guitar > tuner > filter or pitch effects > compression > overdrive/distortion/fuzz > modulation > delay > reverb > amp
It is not a law. It is a useful first layout that helps you hear what each pedal is doing.
Put the tuner near the front so it receives the cleanest guitar signal, and so its mute function can silence the board between songs. Wah, envelope filter, octave and pitch pedals often work best early in the chain because they react directly to the guitar pickups. A compressor usually follows, adding consistency before the signal hits your gain pedals.
Overdrive, distortion and boost pedals are generally grouped together. Their order changes the feel dramatically. A clean boost before an overdrive pushes it into more saturation; after the overdrive, it may give more volume for a solo, depending on how much headroom the amp has. Two drives stacked together can produce brilliant lead sounds, but only if you set each one with a role. Try one for low-gain edge and another for a louder, more saturated sound rather than running both with every control maxed out.
Modulation effects such as chorus, phaser and tremolo commonly sit after gain, where they sound clearer and more pronounced. Delay and reverb are usually last, preserving repeats and ambience after the rest of the tone shaping. Put delay before a heavy distortion, for example, and every repeat becomes distorted too. That can be a glorious wall of sound, but it is less defined for most rhythm and lead work.
Use your amp's effects loop when it helps
If your amplifier has an effects loop, try delay, reverb and some modulation pedals there. The loop places them after the amp's preamp section, which can keep time-based effects cleaner when you use the amp's own overdrive channel.
A practical split might be guitar into tuner, wah, compressor and drives, then into the amp input. The amp's send goes to chorus, delay and reverb, then back to the return. This is especially useful for high-gain amps.
It does depend on the amp and pedal. Some effects loops run at line level, which can overload pedals designed for a normal guitar-level signal. If the sound becomes harsh, thin or noisy, return the pedal to the front of the amp and compare. Your ears matter more than a diagram.
Plan the physical layout before fixing anything down
Place the pedals in their signal order, then adjust the layout for your feet. Pedals used every song should be easy to reach at the front. Less frequently changed controls can sit on a raised back row. A tuner is often placed where it is accessible but less likely to be kicked accidentally.
Think about switching combinations. If you often turn on overdrive and delay together for a chorus, position them close enough to hit without performing a balancing act. Likewise, avoid putting a delicate mini pedal directly beside a chunky footswitch if you wear larger shoes.
Most players run the signal from right to left, because guitar inputs are commonly on the right and outputs on the left. That keeps patch leads short and tidy, but side-mounted and top-mounted sockets can change the best arrangement. Do a full dry run with every cable connected before applying hook-and-loop tape. It is much easier to move a pedal now than after you have cut, stuck and tied everything down.
Clean the underside of each pedal before fitting it to the board. Use good-quality hook-and-loop fastening or a suitable mounting system, and make sure the pedals cannot shift when the board is carried upright. Keep battery compartments accessible if you genuinely plan to use batteries, although an isolated power supply is usually the smarter long-term choice.
Power is where reliable boards are won or lost
Daisy chains are inexpensive and can work for a couple of simple analogue pedals. They are also a common source of hum, digital whine and unpredictable behaviour when mixed with high-current digital pedals. If the board is going to rehearsal or on stage, an isolated multi-output supply is worth serious consideration.
Check every pedal's voltage, polarity and current draw before connecting it. Most modern pedals use 9V DC centre-negative power, but not all do. Some need 12V or 18V; some older or specialist pedals have different requirements altogether. Never assume a plug fits means it is safe to use. The wrong voltage can damage a pedal.
Give high-current digital pedals, such as loopers, multi-effects and sophisticated delays, the output capacity they require. Keep the mains cable and power supply positioned sensibly beneath or at the rear of the board, away from audio cables where possible. Route signal cables cleanly and secure loose lengths with cable ties or reusable straps. You are not chasing showroom perfection, just preventing snags and reducing noise.
Choose patch leads that fit the board
Short patch leads keep the board neat and reduce cable clutter, but do not force pedals together so tightly that plugs are strained. Low-profile pancake plugs are excellent for many side-mounted pedals, while compact right-angle plugs suit boards with top-mounted jacks. A mixture is often the right answer.
Avoid the temptation to use the cheapest possible leads. A failing patch cable can imitate a dead pedal, a flat battery or an amp problem, often five minutes before you are due on. Keep one known-good spare patch lead in your case and label any leads that have become unreliable rather than letting them creep back into the rig.
Test it like you will use it
Once everything is mounted, test one pedal at a time. Start with guitar straight into the amp, then add the tuner, then each pedal in turn. This makes it far easier to find the source of a noise issue, level drop or loss of high end.
Set output volumes at realistic playing levels. A pedal that sounds perfect quietly in the spare room can be far too loud through a valve amp at rehearsal. Match bypass and engaged levels where possible, then make deliberate exceptions: a lead boost should actually lift you above the band, not merely add more gain.
Play the full board with the guitar and amp you normally use. Single-coil pickups, humbuckers, low-output vintage-style pickups and active electronics all drive pedals differently. Take a photo of the final layout and make a quick note of favourite settings. If something gets knocked in transit, you will have a useful reference.
A well-set pedalboard is never completely finished. Songs change, bands change and one great used pedal can shift the whole setup. Keep the essentials reliable, leave room for a little experimentation, and bring the board into Chordplay Guitars if you want a second pair of musician's ears before its first proper outing.
Share:
How to Choose a Guitar Amplifier for Your Sound
Second Hand Electric Guitars: Buy With Confidence